Assignment 3 - Original Tutorial and Disciplinary Reflection
Tutorial of the Aluminum Bowl
Things you need

1. Aluminum sheet
2. Metal file
3. Metal cutter
4. Marker
5. Compasses
6. Ruler

7. Mushroom dolly
8. Wooden template
9. Planishing hammer
10. Sandbag
11. Ear protection
12. Nylon hammer

Metal polish liquid and cloth

English wheel
Process of metal shaping
Step 1:


Step 2


Step 3


Step 4


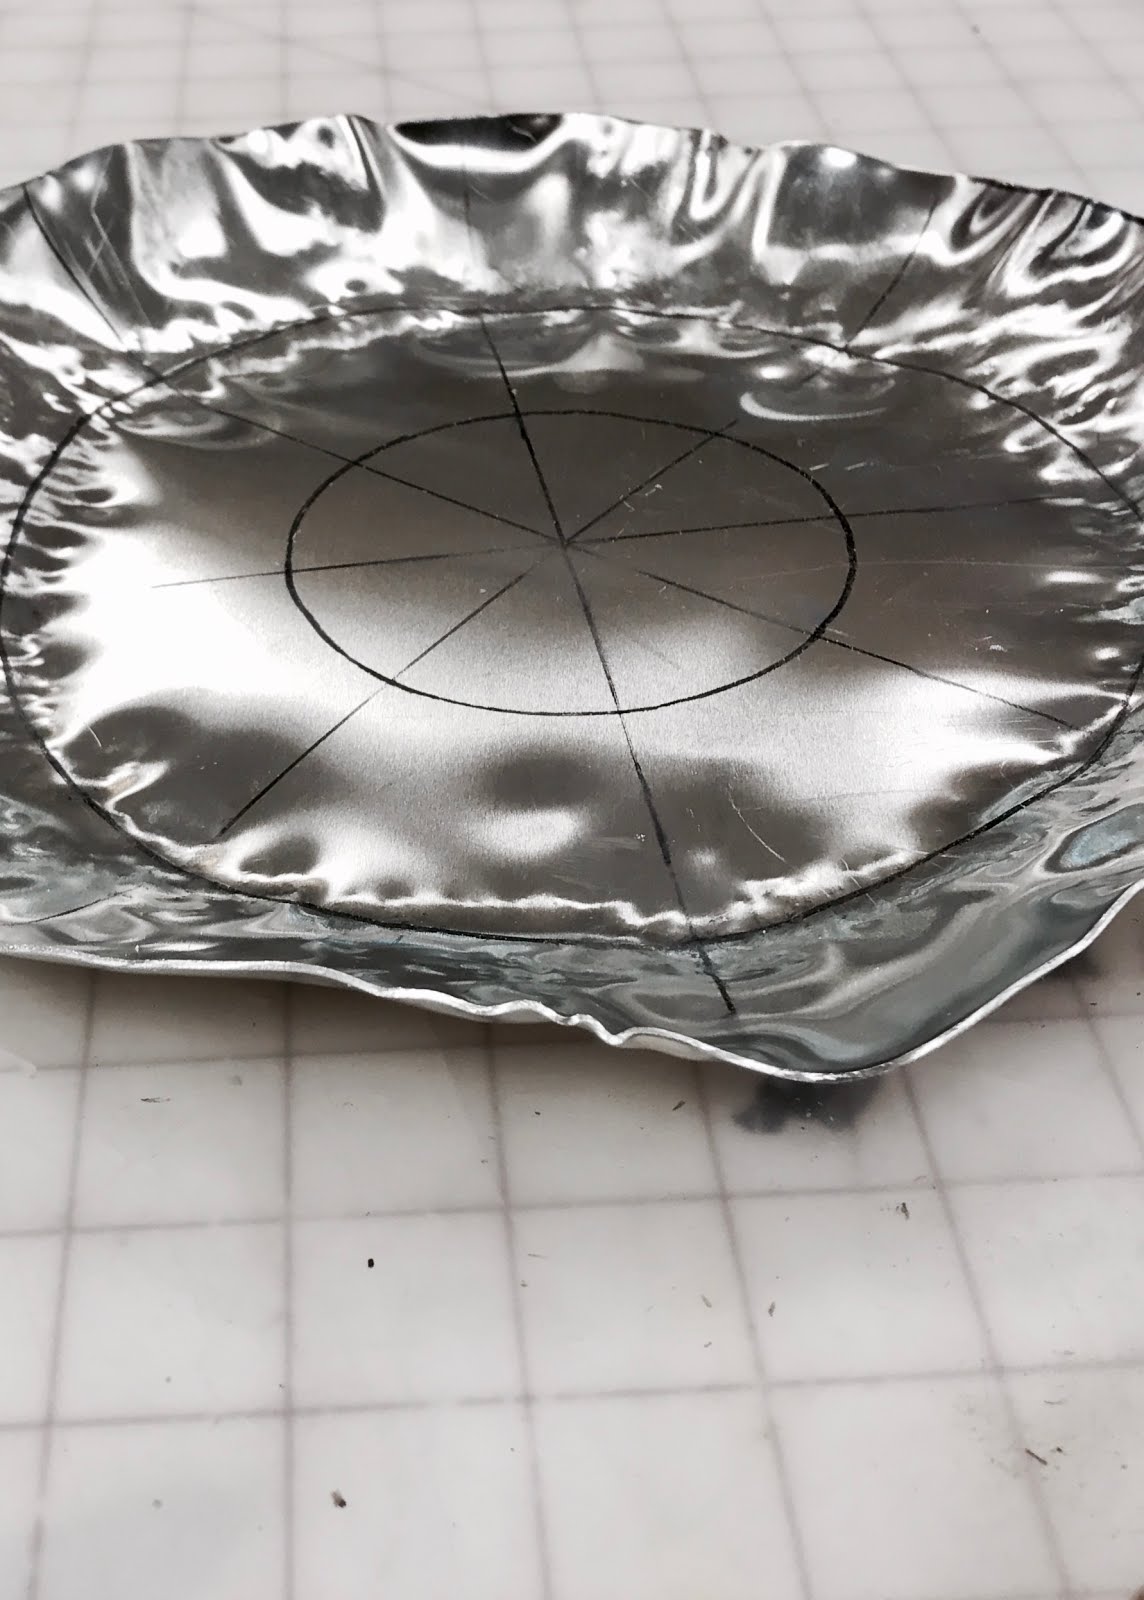
Step 5


Step 6


Use the bigger end of the hammer to smash the place between outer reference circle and inner reference circle on the sandbag. The bowl become more smooth and deep.

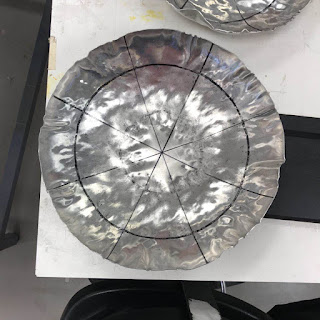
Step 7


Step 8


After you are satisfied with the depth of your bowl, use the bigger end of the hammer beating the center point of the bowl on sandbag. Thus the bottom of the bowl becomes the spherical surface.
Step 9
Adjust the shape


Step 10


At this stage, you will get a bowl with nice spherical shape but unsatisfying finish.

Step 11


Use the English wheel to polish the whole bowl and remove the trail of nylon hammer and planishing hammer.
Step 12

If the edge of your bowl is rough and uneven, you can cut the outer edge with metal cutter. To ensure the edge of bowl a standard circle, place the bowl on a flat surface and put a pen on the table drawing a line around the bowl. That line would be parallel to the horizontal line. Cut the edge along this line with the metal cutter. Remember to sand the edge with the metal file.
Step 13


Finally, use the metal polish liquid and the cloth to polish and you will get a bowl with perfect shining finish.
The finished product


REFLECTION

Spectrum of bowl shape being employed into architecture from dome convex form to sphere concave shape.

评论
发表评论